







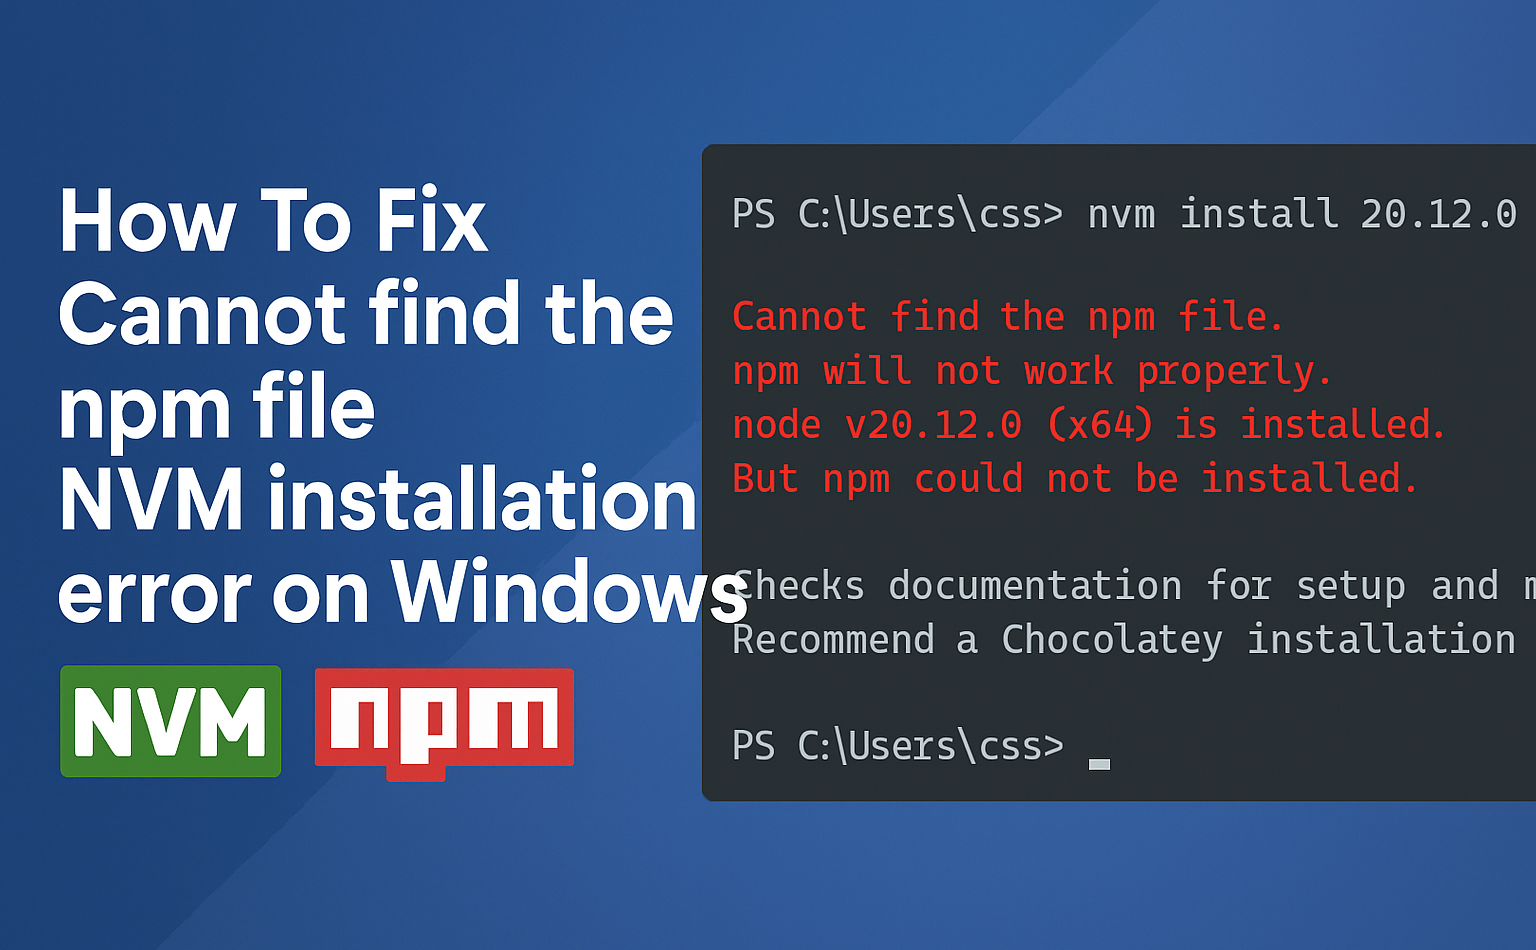
If you find yourself in the group of people who tried to install NVM (Node Version Manager) on Windows and received the “Cannot find the npm file” notification, you are not alone. This is one of the most common problems that developers encounter when installing NVM for the first time, especially on Windows which has a complicated path setting. Therefore, we will clarify the reason for the error, what it means, and how to fix it step by step all in plain and simple words.
Meaning of Error
To make it more digestible, when NVM reports the “Cannot find the npm file” error, it cannot locate the npm (Node Package Manager) binary that should already be included in your Node.js setup. Generally, if you go for the official installer to install Node.js, npm is delivered with it, and it is also automatically linked to the system PATH.
However, things are a bit different with NVM. NVM deploys the various Node.js versions in its folder and then switches among them dynamically. Therefore, if during the installation process something goes wrong for instance, if the symlink does not update properly, or if the installation folder is not accessible NVM will not discover or use npm.
Fix in Steps
Let us take a close look at the error fixing steps one by one in detail.
Check NVM and Node.js Setup
To at the outset, open up a Command Prompt and type in:
nvm versionA version number indicates that NVM is set up correctly. Then, let us check the Node versions available on the system:
nvm listIf no versions are shown, you will need to install a Node version:
nvm install 18.17.1(You may use any version number you want.)
Right after the installation, switch to it:
nvm use 18.17.1
Test run next:
node -v
npm -v
If node is doing fine but npm is not, then move to the next step.
Confirm if npm is There in the Node Version Folder
Go to your NVM folder, which normally is:
C:\Users\AppData\Roaming\nvm
Open the subfolder for the Node version you are using (for example, v18.17.1). Now, check if there is a folder called:
node_modules\npmand also a file:
npm.cmdIf they are not present, it indicates that npm has not been installed correctly.
Install npm Manually Again
If npm is missing, then option left is to perform manual installation:
Open Command Prompt in the Node version folder.
Type:
node install npm@latest -gor if that fails:
curl -L https://www.npmjs.com/install.sh | nodeThen check again:
npm -v
Troubleshoot NVM settings.txt File
Open this file in Notepad:
C:\Users\AppData\Roaming\nvm\settings.txt
Verify that it looks somewhat like this:
root: C:\Users\AppData\Roaming\nvm
path: C:\Program Files\nodejs
arch: 64
proxy: none
If there is a wrong path or root value, NVM won’t be able to figure out where npm is located. Change the paths, save the file, and restart the Command Prompt.
Prevent Admin Permission Issues
If you installed NVM under C:\Program Files or any other folder that is not accessible by the system, uninstall it and install NVM in a location like:
C:\nvm
Then install your desired version of Node:
nvm install 20.10.0
nvm use 20.10.0
Now check:
npm -vThis time it should show the npm version correctly.
Reset Environment Variables
The Windows PATH variables sometimes do not refresh automatically after installation.
To do it manually:
Go to System Properties > Environment Variables.
In User variables, check if there is a line like:
C:\Program Files\nodejs\
If it is not, add it.
Either restart Command Prompt or your computer.
The “Cannot find the npm file” error in NVM for Windows might drive you crazy and test your patience, but most of the time it is just a misconfiguration or installation issue. You are making sure that:
- NVM root and path directories are correct,
- npm is available in your Node.js version folder, and
- the system PATH is updated properly.
With all these things sorted out, NVM will easily manage your Node environments, allowing you to switch versions, install global packages, and work on different projects without getting tangled in the mess of multiple Node.js installations.